veggies
I thought this would be funny. I used to date a girl that was vegan, and she wouldn’t eat anything with a face. I used to joke that if veggies would scream, maybe she would start eating meat again. Quick sketch pencil on paper.
Archive for the ‘ 1 ’ Category
I thought this would be funny. I used to date a girl that was vegan, and she wouldn’t eat anything with a face. I used to joke that if veggies would scream, maybe she would start eating meat again. Quick sketch pencil on paper.
Last week, Dom and I went to the Battle of the Bay, A’s vs Giants…and as luck turned out its the 20th Anniversary of the Earthquake Series.
Being Eighties Kids, with Dom a Giants fan and myself an A’s fan…we had a blast, recalling memories of 80’s baseball in the Bay and growing up on opposing ends.
I also took Bart this time to the game…it had been awhile, so of course i got overwhelmed with all the people and had to draw them all, and when i got to the coliseum i went insane…i love how diverse and beautiful the people of the Bay are, just so many faces and stories to tell…here are some that i caught…
A’s win! take that Dom…oh yeah, the Giants did take this series in the end last week…

On Bart and at the Game…used a cheap red ball point (wish i didnt lose my bic)


 My roommates all put in and got me the Rosendahl watch for my birthday. Sweet. Used a pilot retractable fine tip. Fine tips are pretty difficult to use for shading. I think in the future I won’t attempt that same technique.
We wanted to share with everyone the wonderful work that everyone that came out on June 14 @ the SF Zoo. Sketching animals that are moving around, at a pretty good distance can be quite a challenge…but so many people did such fantastic work! Also, check out the photos that our 2 wonderful photographers shot all throughout the day! Thanks again all, and please share it with every person on this big happy planet you know!
Oh, before I forget….would anyone be interested in getting this work in a MINI BOOK form?
Who didnt get a copy of our first SKETCH BOOK? Hit us up, we will hook you up with one! They turned out awesome Jon!


I think people over look these valuable drawings. An exploration of ideas is vital to seeing all the possibilities in design.
I know there have been many motorcycle mechs designed but I’m sure not all possible designs have been explored.

So, i know that King had posted a box demo a few days back, but we had gotten feedback that there were issues with it…namely the perspective…of course King likes to do hyper, distorted boxes for fun, but that may confuse people, especially those of us who just started sketching…doing the hyper, distorted boxes are a great exercise, but you have to understand the basics of constructing a box in perspective first, hence this post…
This is actually a perspective exercise that we would follow up with our calisthenics (Point to Point, Ellipse, and Arches)…it really helps to rack up the mileage and practice your perspective…hope this helps!
The new demo is located in our Tutorials + Techniques section…feel free to leave feedback and comments…

I’d like to thank everyone that showed up to our first Lineweights field trip event and for partcipating in getting in that mileage on paper. We’ve got another fun filled Sketch Crawl so be on the lookout! As a part of our Thank You’s to those who came, we gave out sketchbooks with samples of our work and other goodies…
![DSC03117[1]](https://lineweights.com/wp-content/uploads/2009/06/dsc0311711.jpg "DSC03117[1]")
![DSC03119[1]](https://lineweights.com/wp-content/uploads/2009/06/dsc0311912.jpg "DSC03119[1]")
![DSC03120[1]](https://lineweights.com/wp-content/uploads/2009/06/dsc0312012.jpg "DSC03120[1]")
![DSC03124[1]](https://lineweights.com/wp-content/uploads/2009/06/dsc0312412.jpg "DSC03124[1]")
Here are some of my sketches from the zoo…such a challenging exercise and i need more mileage and practice!!! By the way one of the best books i’ve come across for sketching animals and characters is David Colman’s “The Art of Animal Character Design”…This guy is amazing and so inspiring… http://davidsdoodles.com/


We’ve added a new tutorial in the tutorial + techniques area. We shall inform you of anymore updates.

Hey LW’s viewers. Just wanted to say a big thank you to all that came out to the Zoo yesterday. The day was a great success, and we look forward the next event (probably next month)! We will be posting more details and some feedback from the day later this week. Thanks again, and be on the look out for more events to come!
Here are just a couple quick sketches from the day. Enjoy!


Rest in peace David Carradine. Like Jon mentioned in his tribute sketch, we lost a huge inspiration to many and a hero to all. I decided to work this sketch in a demo format, sketching and scanning at each stage to show the progress. I used just simple trace with black verithin-prisma. You will be missed…
Step 1: This initial sketch is done with basic straight lines.
(A). You start by breaking the page down with lines that extend off the page. These lines are the dominate composition lines, that help to dictate the main shapes and force of the sketch.
(B). Next you use Medium length lines (built off of the extended lines from A.) to help rough some of the bigger shapes, head, hands body are usually roughly formed.
(C). Using smaller lines, you help complete some of the rough shapes and help to begin the detail elements of the sketch.

Step 2: Using the sketch from Step 1 as an underlay, here we begin a new sketch by blocking out the basic shapes. Circles, triangles, cross section lines and roughly blocked out lines.
 Step 3: Using the sketch from Step 2 as an underlay, we start a new sketch using the underlay as the “framework” to hang the more gestural/ expressive line work. Here we are looking to shape most of the final details, begin to build hierarchy and contrast in the line quality and look for value shifts. As the building of line work continues, its important to sketch “inside” the lines…using the cross section lines as reference, you can shape areas like the cheek, nose, mouth, eyes, etc.
 Step 4: Here we have taken the sketch from Step 3, a little further with shading, cross hatching, feathering, etc. Using different techniques to help build in value, keeps the sketch alive and dynamic. Working with those different uses of the pencil, you can sepreate skin from cloth, etc. Finishing the light details on the face and hands, help to finialize the sketch. The last few details, I like to rough in a background, to help the portrait step off the page. Hope you can get something from this technique I was taught in a Figure Drawing/Painting class. Enjoy!

Hello all,
Below is a quick update to the SF Zoo Sketch Crawl Day! I added the Top Ten things to know going into the day. It might be a good call to print this guy out…its ment to fit on a 8.5×11, so warm those inkjets up! Look forward to seeing you all on Sunday!
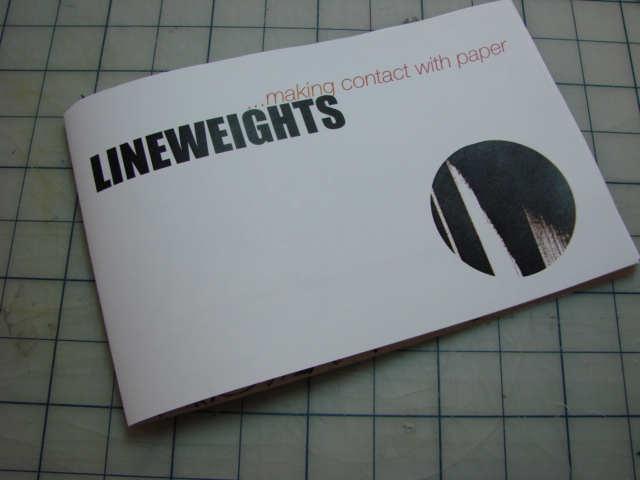
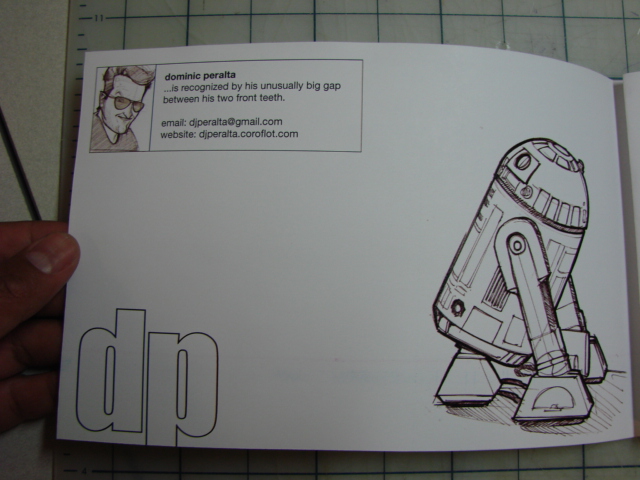
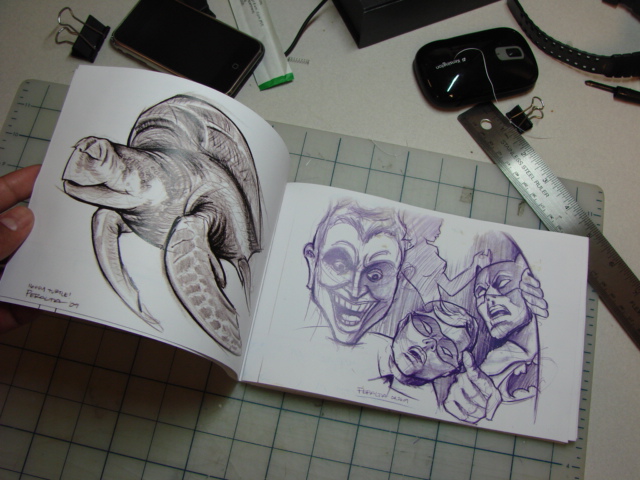
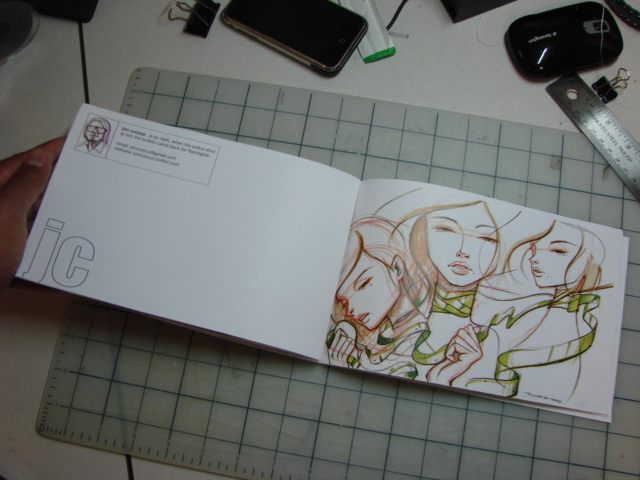
Lineweights
Something for my cousin who is graduating this weekend. Gonna be in So Cal. I do plan to catch a flight back to SJ by noon in time for some zoo sketching shenanigans.

So I was doing my daily geekologie.com check-up and stumbled across an article that proved just how crazy/awesome the Japanese are. Check it out at the link below. Again, worked with the red Micron.
http://www.geekologie.com/2009/06/japan_completes_lifesized_gund.php

![3628692459_fb755191a7[1]](https://live.staticflickr.com/2581/3682050553_72c5080af1_s.jpg "3628692459_fb755191a7[1]")
![3628695853_a1e6a40195[1]](https://live.staticflickr.com/3568/3682863860_b7c69e3aea_s.jpg "3628695853_a1e6a40195[1]")
![3629536468_4c1c67e0c2[1]](https://live.staticflickr.com/2470/3682050349_88c7a10598_s.jpg "3629536468_4c1c67e0c2[1]")
