Posts Tagged ‘ design sketching ’

Use the force…

Hello all,

Its literally been light years since our last post.   With the recent formation of a workshop/art studio, I now have some space to reconnect to the work I love.  Last night I was lucky enough to go to my brother Joey’s art show @ Backspace Retail in Sonora, Ca.  Seeing him create beautiful work and share it with friends, family, strangers off the street..gave me that feeling of reconnecting with the art roots inside me.  So naturally I went straight one of my greatest sources of inspiration…star wars and yoda! Check out the step by step process I took to create a few pieces that are now hanging up in the workshop!  Enjoy!

Advertisement

daily doodles

On a rainy day like today, nothing like little sketches to keep the imagination flowing…

Motorcycle Sketch Demo- 1968 Benelli 175cc

I have been meaning to sketch out my motorcycle (my grandpa’s old bike) for some time now.  I started with just a simple papermate fine point on marker paper with the sketch below.  Feeling out the shapes, silhouette, proportions and placement of each part.  There is lots of room in the engine area, because Benelli used this frame for 4 different size engines (125, 175, 250 and 360cc!).  Click on each image below for the step by step demonstration!

This slideshow requires JavaScript.

A throw back to Prof. Dave Fleming

When I originally started SJSU, I was declared in Graphic Design.  My first semester in the major I decided to take an Industrial Design class as one of my electives.  I was pretty excited to get into the class, since we would be learning how to “sketch like the star wars artists!”  Dave Fleming was the professor for the class, and I heard murmurs from other students that we were really fortunate to have him!  Each day, Prof. Fleming would bring in new and exciting materials to learn to sketch with.  We would gather around his desk, every other class session, to watch him sketch.  I tried to take as many notes as I could, but it was not only hard to keep up, but many times I would just watch in awe. (read more below)

Right from the beginning we were tossed into the pool, expected to know how to swim.  Our perspective training was basically a one week recap, from there, we went full bore into all sorts of materials, lighting, shadowing, coloring, textures, etc.   We got lots of encouragement and inspiration from Prof Fleming, and he always had lots of saying to carry us through the semester.  It was tough to keep up, but once the class was over, I was really thankful for what Prof Fleming taught the class.  On the last day of class Prof Fleming came up to me to give me my grade and he said…”you know, I would really think about changing over from Graphic Design to Industrial Design…you have the eye for it”…from that point forward my life was changed forever.  Thanks Professor Fleming for all the encouragement, education and inspiration!  Check out his old school work below… and his most current paintings here.. http://www2.cruzio.com/~fleming/

Viz One @ SJSU…final day

We had such a great opportunity this year to teach Viz 1 @ SJSU and what a journey it has been! We would like to thank our class for all their hard work and dedication this semester and especially for weathering the tough critiques…they certainly poured out the mileage…just to remind everyone this is the first design course in our ID program, so there is still much to be learned and gained, and after their performance we definitely believe they are ready to kick ass in Viz 2…

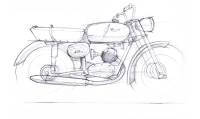
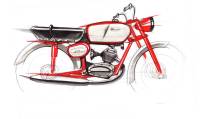
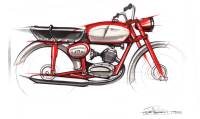
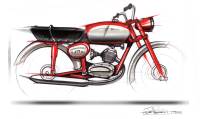
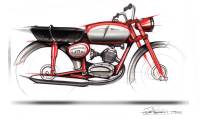
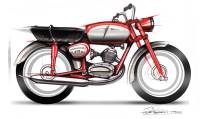
This was their final…to redesign a housewares product…show us your understanding of perspective, construction, lineweight, rendering in monochrome (baby steps before color), shadows, and of course their first stab at redesigning something…here are some snap shots of what they presented to us…

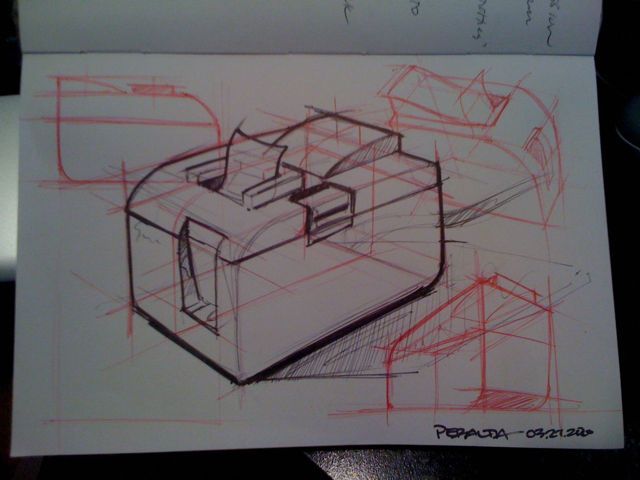
We posted up their first day sketches (they were so embarrassed) and had them post their finals directly underneath to show their progress, or not.

To help them drive their designs and push their boundaries, we had them create inspiration boards, from steam punk to aliens that exercise really drove them.

From fun and whimsical to modern to speed and flow…

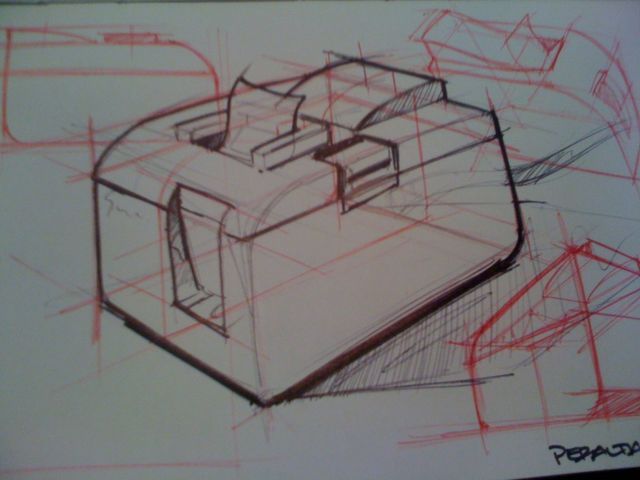
Construction, perspective, quick thumbnails for concept generation, and monochromatic renders (next term will be color and materials)

Again, thank you to our class…remember to keep on sketching over the summer, keep it loose, and never get complacent, always hungry-never full!

Assignment #8…sketch breakdown

This was our Assignment 8 for Dom’s class (he let me be his sidekick to help him out this semester)…we basically had them take an existing product and break it down to its fundamental primitive shapes, and then had them closely study its overall form and sketch it out in perspective with orthos…most our students only had photos from the web to reference so it was a bit challenging…the ultimate goal for this assignment was to understand how to see past all the small details (logos, finishes, etc) and really hone in on the proportion, the build up of primitive forms,  how to sketch a simple product with those primitives  in multiple perspectives, and working/referencing the orthos…

Dom will be posting up the upcoming demo’s soon, we just gotta scan em in…so here are quick snap shots of the building process

Always start with roughed out orthos to understand the overall form and proportions

play around with perspective with rough thumbnails

study the subject matter, its design, primitive forms and subtleties

now that we have the supporting material we can start to sketch it out…

Printer Sketch

Really quick printer sketch… bic ball point black/red on bond paper.

Circles Inside Squares

Recently, Jon and I were asked to teach the Visulaization 1 class @ SJSU Industrial Design.  It is something we both aspiring to do someday in the future…and that future is now.  We are now 3 weeks into the class and the students seem to be responding really well, and bring a positive attitude to class everyday.  Hopefully from their point of view we are able to connect, communicate, educate and inspire.  I felt like the Circles Inside Squares demo was a great spot to start with our new posts for the class (as several other components that we have taught already appear here on LW’s).  Enjoy!

First, sketch this out on a sheet of paper, cut it out and fold it up into a 6 sided cube.

Now, using your cube…sketch out what you see.  Play with Perspective Views, View Angle, Eye Level of the cube…and then freehand the ellipses on each showing side of the cube!